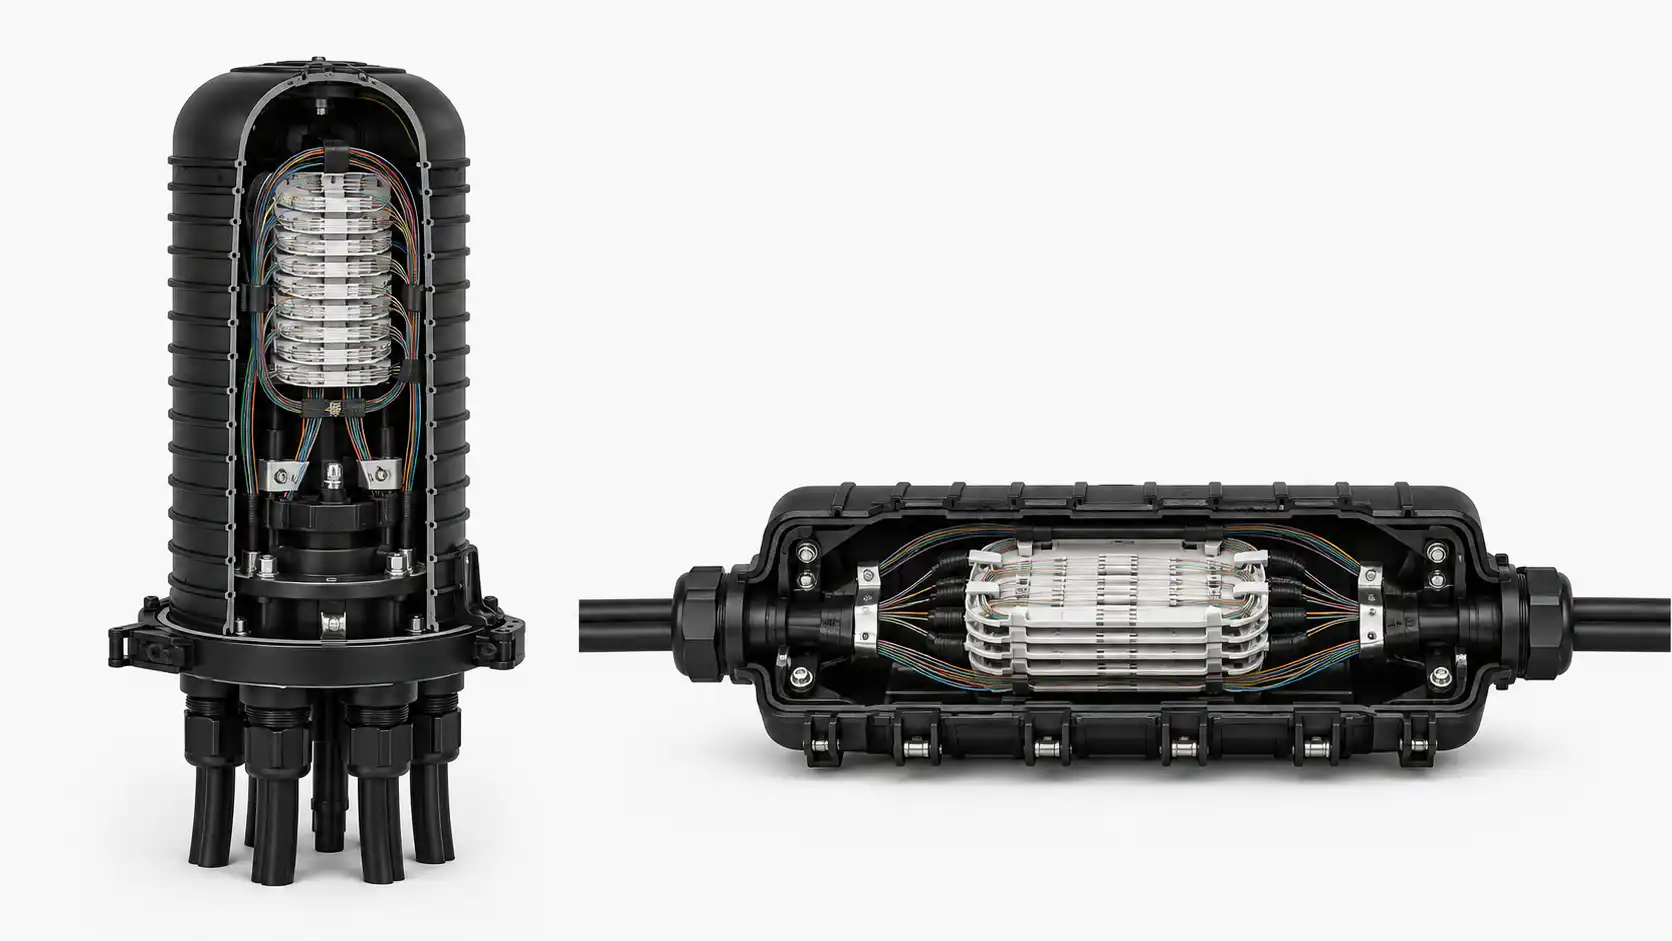
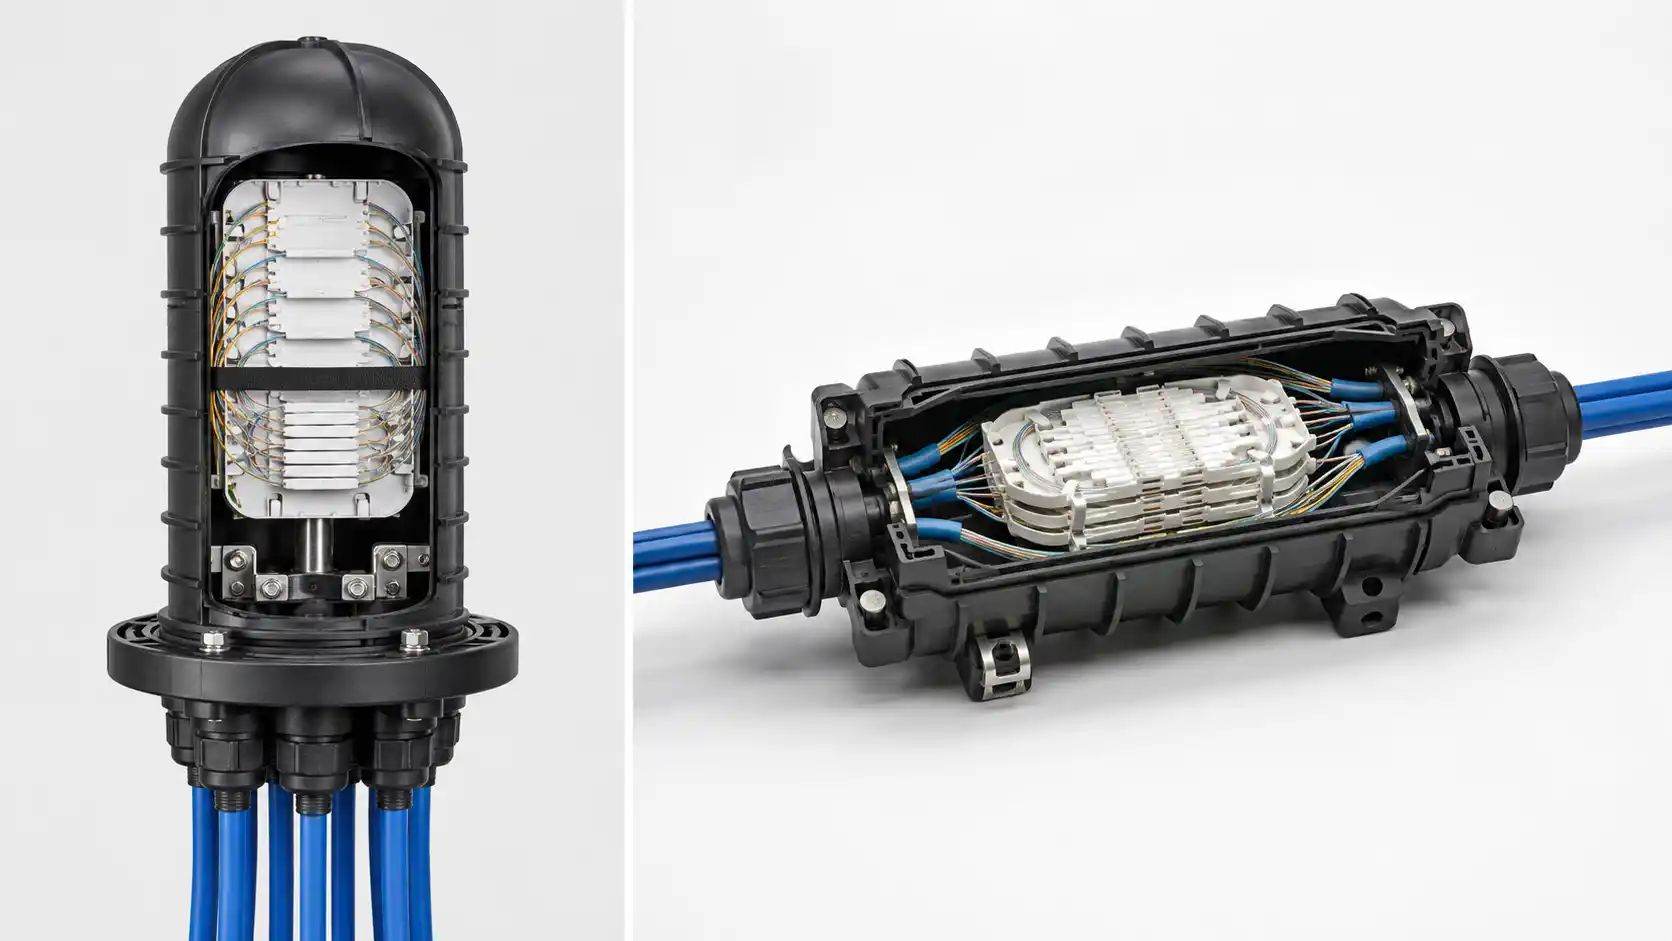
A 12-fiber pigtail set is easy to identify by color and surprisingly easy to mis-map. The color sequence can tell a technician which strand position is which, but it does not automatically tell you which adapter port, subscriber, circuit, splitter output, or transmit/receive function that strand should serve.
The safest workflow is simple: identify the color-code system, freeze the port plan, map every strand before splicing, verify the completed path, and record any exception. This guide focuses on that field task. If you are choosing connector type, fiber type, polish, length, or another product configuration, use the fiber pigtail commercial category or the broader fiber optic pigtail selection guide.
The Standard 12-Fiber Color Sequence
The TIA-598 color sequence commonly used for identifying individual fibers is shown below. The same twelve base colors are also widely used for buffer-tube identification. A public reference is available in the Fiber Optic Association color-code guide.
| Fiber position | TIA-598 color | Common field alias |
|---|---|---|
| 1 | Blue | Blue |
| 2 | Orange | Orange |
| 3 | Green | Green |
| 4 | Brown | Brown |
| 5 | Slate | Gray / Grey |
| 6 | White | White |
| 7 | Red | Red |
| 8 | Black | Black |
| 9 | Yellow | Yellow |
| 10 | Violet | Purple |
| 11 | Rose | Pink |
| 12 | Aqua | Aqua |
This table is a reference sequence, not permission to assume that every cable or pigtail set in the field follows it. National standards, operator practices, manufacturer-specific constructions, legacy networks, and customer specifications can use a different scheme. Before cutting or splicing, compare the cable legend, pigtail packaging, project drawing, and any existing splice record.

Color Identifies a Strand Position, Not Its Network Function
This distinction prevents many commissioning errors. In a 12-fiber set, blue may identify position 1 and orange position 2, but the colors alone do not define the service carried by those fibers.
- Color does not define an adapter port. Port 1 may be mapped to blue in a simple one-to-one build, but that is a design choice, not a universal rule.
- Color does not define Tx or Rx. Signal direction belongs to the circuit or polarity plan.
- Color does not identify a subscriber or splitter output. Those assignments must come from the network plan and labels.
- Color does not prove fiber type or connector polish. The buffer color used for strand identification is a different identification layer from connector-body, boot, or cable-jacket conventions.
- Matching colors do not prove continuity. A previously modified cable plant may contain a crossed splice or undocumented transition, so testing still matters.
Think of the color as one coordinate in a larger record. A complete identity may be "Cable A / Tube 2 / Fiber 5 / Pigtail 5 / Adapter 17 / Circuit X," not simply "slate fiber."
Build the Mapping Before You Start Splicing
Do the mapping while every fiber is still visible and no splice has made the arrangement difficult to reverse. For enclosure preparation and physical tray handling, see the separate fiber termination box installation guide and fiber splicing guide for enclosures.
1. Identify the Incoming Cable and Color-Code System
Record the cable ID exactly as it appears in the project documentation. If the cable has multiple tubes, subunits, ribbons, or binder groups, identify the correct group before identifying an individual fiber. Never jump directly from a visible fiber color to a circuit number when the same twelve colors can appear in more than one group.
If the incoming cable and the pigtail set use different color conventions, stop and create a written cross-reference. Do not "translate" colors from memory while splicing.
2. Confirm the Destination Port Plan
Obtain the approved relationship between the incoming fiber and its destination: adapter port, ODF position, splitter output, subscriber, equipment port, or other circuit identifier. If that plan does not exist, create and approve it before the first splice.
A tray can be mechanically neat and still be logically wrong. The correct question is not "Are the colors in order?" but "Does each physical strand land on the intended destination?"
3. Lay Out the 12 Pigtails in Sequence
Arrange the pigtails in the documented order and verify all twelve positions. Under poor lighting, slate can be confused with white, rose with red, and blue with aqua. Use adequate lighting and compare adjacent colors rather than identifying a strand in isolation.
Keep dust caps on connector ends until the connector is ready for inspection, cleaning, and mating. The color-mapping task does not change normal connector-cleanliness requirements.
4. Create a Strand-to-Port Worksheet
Write the mapping before splicing. A simple worksheet should include enough fields to trace the path from incoming cable to front-panel port without reopening the enclosure.
| Incoming cable | Group / tube | Fiber position & color | Pigtail ID / color | Adapter / port | Circuit / service | Status |
|---|---|---|---|---|---|---|
| Cable ID | Tube or group ID | 1 - Blue | P01 - Blue | Port assignment | Project assignment | Planned / Spliced / Verified |
The point of the worksheet is traceability, not paperwork for its own sake. If a technician cannot determine where one strand goes without touching other fibers or guessing from color, the mapping is incomplete.

Illustrative 12-Fiber One-to-One Mapping
The table below shows a generic example only in which fiber positions, pigtail colors, and adapter ports are intentionally kept one-to-one. Many real networks use a different port order. Do not copy this arrangement unless it matches the approved design.
| Fiber position | Pigtail color | Illustrative adapter port | What must still be documented |
|---|---|---|---|
| 1 | Blue | 1 | Circuit / subscriber / service ID |
| 2 | Orange | 2 | Circuit / subscriber / service ID |
| 3 | Green | 3 | Circuit / subscriber / service ID |
| 4 | Brown | 4 | Circuit / subscriber / service ID |
| 5 | Slate | 5 | Circuit / subscriber / service ID |
| 6 | White | 6 | Circuit / subscriber / service ID |
| 7 | Red | 7 | Circuit / subscriber / service ID |
| 8 | Black | 8 | Circuit / subscriber / service ID |
| 9 | Yellow | 9 | Circuit / subscriber / service ID |
| 10 | Violet | 10 | Circuit / subscriber / service ID |
| 11 | Rose | 11 | Circuit / subscriber / service ID |
| 12 | Aqua | 12 | Circuit / subscriber / service ID |
A one-to-one table is attractive because it is easy to audit. But maintainability is more important than visual symmetry. If the network design requires a different mapping, document that mapping clearly rather than rearranging the design to make the colors look sequential.
How to Splice Without Losing the Mapping
Work One Known Pair at a Time
Confirm the incoming strand and pigtail against the worksheet before stripping the final section for splicing. After the splice is protected and placed in its tray position, mark that row as completed. This prevents a technician from relying on a pile of prepared fibers whose identities are no longer obvious.
Keep the Tray Position Separate from the Circuit Identity
A splice sleeve holder may be numbered 1–12, but that tray position is another physical coordinate. It is useful when tray position 1 corresponds to fiber 1, yet that relationship must be explicit. If a damaged holder or routing constraint forces a different sleeve position, record the exception instead of moving the fiber silently.
Label Before the Enclosure Is Closed
Labels should support tracing from both directions. Depending on the installation, that may mean cable ID, tray number, port number, splitter output, circuit ID, subscriber ID, or another operator-defined identifier. The label scheme should match the as-built record, not introduce a second naming system.
Multiple 12-Fiber Groups: Use Two Coordinates, Not One Color
Color-only identification breaks down as soon as the cable contains more than one 12-position group. A blue fiber can appear in more than one tube, subunit, or ribbon. The technician therefore needs both the group identity and the strand identity.
For example, "orange tube / green fiber" and "blue tube / green fiber" are different physical fibers even though both individual strands are green. In another cable construction, the manufacturer may identify higher positions with tracers, binders, ribbon markings, print marks, or a customer-specific scheme. The correct method is the one documented for the installed cable.
This is also why a replacement pigtail set should not be chosen merely because it contains the familiar twelve colors. Confirm the identification convention and create a cross-reference when the old and new components differ.

Five Mapping Errors That Create Expensive Rework
1. Treating Aqua as a Fiber-Type Decision
Aqua appears in multiple optical identification conventions. Within the TIA-598 twelve-fiber strand sequence, aqua is position 12. Elsewhere in cabling, aqua may be used as a jacket or connector-related identification convention. The context matters. Do not infer fiber type from the strand-position color alone.
2. Assuming Port Numbers Must Follow Color Order
Sequential mapping is convenient, not mandatory. Existing panels, splitter layouts, legacy circuits, or design changes can create a different port plan. The drawing and as-built record own the answer.
3. Reading the Adapter Panel From the Wrong Side
Front-view and rear-view numbering can look mirrored. Before splicing, establish the viewing orientation used by the panel documentation. A perfectly executed blue-to-port-1 sequence can still be wrong if the technician counted the rear of the adapter plate in the opposite direction.
4. Matching Colors Across Different Standards Without Checking
Two components can both be "12-color" products and still use different conventions. Where standards, manufacturer legends, or legacy operator schemes differ, create a position-by-position cross-reference before work starts.
5. Correcting an Exception Without Updating the Record
An emergency re-splice may move a circuit to a spare strand. If the optical path works but the record still shows the original color and port, the next maintenance visit begins with bad information. Treat documentation as part of the repair.

Verification: Prove the Mapping, Not Just the Splice
A fusion splicer can indicate whether a joint appears acceptable, but it cannot confirm that the correct customer or circuit was spliced. Mapping verification is a separate task.
Use the project-approved identification and test method. Depending on the network and whether the fiber is dark or active, this can include controlled continuity checks, a visual fault locator where appropriate, a light source and power meter, OTDR characterization, or network-side circuit confirmation. Follow the applicable safety procedure and never look into a fiber or connector to check for light.
For each completed path, verify three things:
- Identity: the incoming strand corresponds to the intended pigtail and front-panel port.
- Continuity / optical path: the expected end-to-end path is present.
- Record agreement: labels, port table, splice worksheet, and as-built documentation all describe the same path.
If any one of those three is unresolved, the mapping is not complete even if the splice itself is mechanically finished.
Acceptance Record for a 12-Fiber Pigtail Installation
A practical handover record should capture enough information for a technician who was not present during construction to understand the enclosure later.
- Cable and enclosure identifiers.
- Tube, ribbon, binder, or subunit identifier where applicable.
- Fiber position and color.
- Pigtail identifier and color.
- Connector and adapter-port assignment.
- Circuit, splitter-output, equipment-port, or subscriber assignment as applicable.
- Splice-tray and sleeve-holder location where the project requires it.
- Test or continuity reference tied to the same port identity.
- Any deviation from the normal sequence, including spare-fiber substitutions.
- Date and technician or work-order reference according to the operator's process.
A photo of the finished tray can be useful supporting evidence, but it should not replace a structured mapping table. Colors can be difficult to distinguish in a photo, and a photograph rarely shows the complete logical path.
What to Specify When Ordering a 12-Fiber Pigtail Set
Procurement should support the mapping plan without becoming the owner of it. Before ordering, specify the fiber count, the required color-code convention, fiber type, connector type and polish, pigtail length, buffer or jacket construction, and any labeling or test-documentation requirement. If the project needs a nonstandard color order or individual circuit labels, put that requirement in the purchase specification rather than expecting installers to discover it at the splice tray.
For product configuration and commercial selection, return to the fiber pigtail category. The installation record should then reflect what was actually delivered and approved for the project.
Final Rule: Identify, Map, Splice, Verify, Record
The 12-fiber color sequence is valuable because it creates a repeatable visual identifier. It becomes reliable only when the project connects that identifier to a documented physical and logical path.
Use the color code to establish strand position, use the port plan to establish function, use the splice tray to protect and organize the joint, use testing to confirm the path, and use the as-built record to preserve that information for the next technician. That five-step discipline prevents a neat-looking tray from becoming an undocumented network problem.