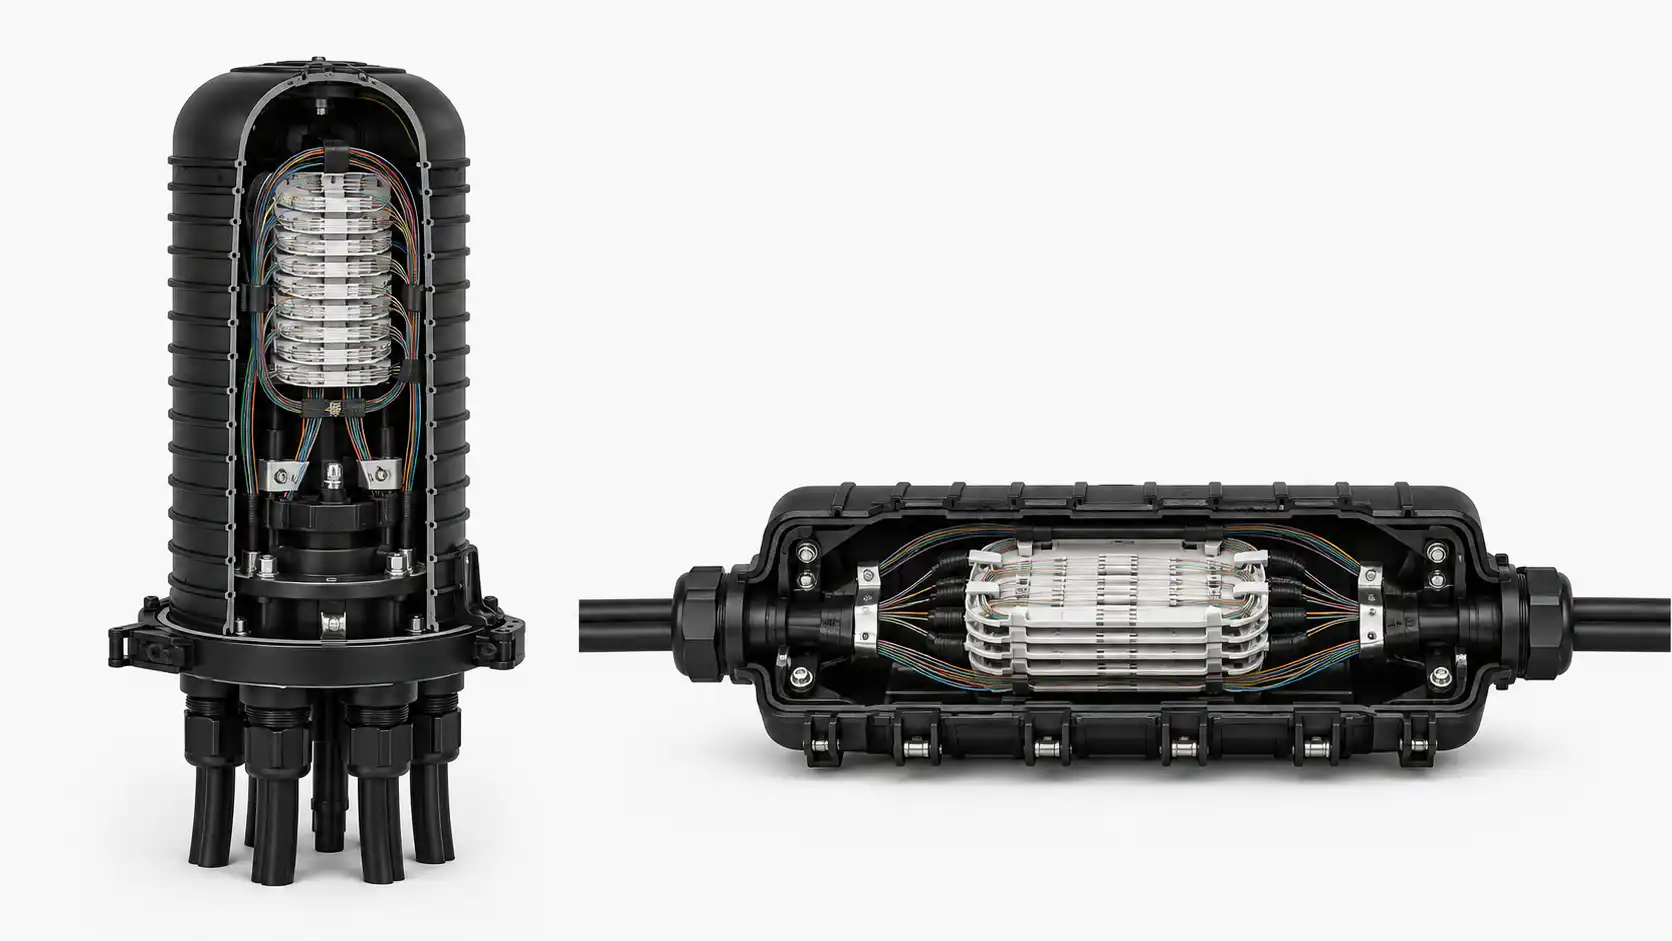
Blockless and cassette PLC splitters can use the same split ratio and serve the same PON architecture, yet behave very differently once they are installed. The difference is not simply "compact versus protected." It is a decision about where mechanical protection, fiber routing, connector access, labeling, and replacement responsibility will live.
A blockless splitter relies heavily on the host enclosure or tray to secure the splitter body and protect its input/output leads. A cassette-style splitter moves more of that protection and organization into the splitter assembly itself. The right choice therefore depends on the installed system, not the package name alone.
This guide focuses on that physical-integration decision after the PON split ratio has already been selected. For general PLC technology, split ratios, optical loss, and other package families, use the PLC splitter selection guide. For commercial configurations and quotation, use the DIMI Fiber Optic Splitter category.
First Define What "Cassette" Means in Your Project
Do not assume every supplier uses the word cassette for the same mechanical format. In different catalogs, the term may describe a protected module with pigtails, an insertable module with front adapters, or an LGX-style unit intended for a compatible chassis. Those designs are not interchangeable simply because they share the same split ratio.
Before comparing cassette against blockless, define the cassette by observable interfaces:
- overall dimensions and orientation;
- mounting holes, latch, rails, slots, or chassis interface;
- front, rear, or external pigtail presentation;
- connectorized or fusion-spliced input and outputs;
- adapter type and polish where adapters are integrated;
- port numbering and label location;
- service access after adjacent modules and cables are installed.
The same discipline applies to blockless units. "Blockless" normally indicates a compact protected PLC assembly with fiber leads rather than a large external box, but the exact module body, lead construction, connectorization, and fixation method still belong on the approved drawing.
The Real Comparison: Where Does the Host Enclosure Stop and the Splitter Begin?
| Integration question | Blockless approach | Cassette approach |
|---|---|---|
| Primary mechanical protection | Shared between the splitter module and the host tray/box | More protection is integrated into the cassette assembly |
| Fixation | Host enclosure must provide a holder, clip, tray position, or other approved retention method | Cassette usually uses a defined mounting or insertion interface that must match the host system |
| Fiber routing | Input/output leads are routed and stored directly in the host enclosure | Some internal routing is contained in the cassette; external cords or pigtails still need management |
| Splicing | Common when the blockless leads are integrated into a splice tray or distribution box | Depends on cassette design; some are connectorized, while others still use pigtails that require splicing |
| Port access | May be indirect if outputs terminate elsewhere in the box | Can be direct when the cassette presents labeled adapters at the service face |
| Replacement boundary | May require opening routing, disconnecting or resplicing leads, and restoring tray organization | Can be a defined module swap when interfaces are connectorized and the chassis supports replacement |
This table describes integration patterns, not universal product rules. The approved splitter drawing and the host-enclosure drawing must control the final design.

Do Not Compare Module Size; Compare Installed Volume
A blockless splitter body can occupy very little space, but the module body is only one part of the installed footprint. The enclosure must also store or route the input lead, all output leads, splice protectors where used, connector boots where used, service loops, labels, and the clearance needed to work on adjacent fibers.
For a blockless installation, measure or model:
- splitter body envelope;
- retention zone around the body;
- input lead route;
- output fan-out route;
- splice sleeve locations if the leads are fusion-spliced;
- connector boot clearance if leads are connectorized;
- service-loop storage;
- tray opening/closing movement;
- clearance from hinges, seals, fasteners, and other components.
A cassette can occupy more obvious module volume but reduce the amount of loose routing inside the host system. The useful comparison is therefore total installed volume plus service clearance, not body dimensions alone.
A production-intent fit check is especially valuable when the enclosure is compact. Install the real splitter construction, intended leads, splice sleeves or connectors, neighboring fibers, and maximum planned population. Confirm that the enclosure can be closed and reopened without loading the splitter leads or disturbing other circuits.

Blockless Is a Host-Integration Decision
A blockless splitter makes most sense when the surrounding box or tray has already been designed to manage a compact splitter assembly. The host system must provide the functions that a larger package would otherwise provide.
Approve the following before ordering:
- Retention: where the splitter body is held and how it is prevented from moving during installation and later service;
- Lead protection: how fibers transition from the module body into the tray or routing path;
- Bend control: how the enclosure prevents sharp local bends and pinching during tray movement;
- Splice plan: if unconnectorized, where input/output splices are placed and how sleeves are retained;
- Connector plan: if connectorized, where adapters are located and how connector boots are accessed;
- Output identity: how individual outputs stay traceable from the splitter lead to adapter, splice, distribution fiber, or subscriber record.
Compactness creates value only when the enclosure can use it. A loose compact module with uncontrolled leads is not a successful space-saving design.
Cassette Is a Mounting and Service-System Decision
A cassette should be evaluated as part of a host panel, chassis, cabinet, or distribution system. Its benefit is not the word "cassette"; it is the degree to which mounting, protection, labeling, and access are already structured.
Confirm:
- the cassette footprint matches the intended slot, shelf, panel, or holder;
- the insertion/removal direction remains accessible after other modules are populated;
- front adapters or pigtails use the required connector family and polish;
- all ports remain readable and reachable after patch cords are installed;
- the cassette can be removed without exceeding the bend or movement limits of connected fibers;
- spare cassettes are mechanically and optically equivalent to the approved unit;
- the operations team knows whether replacement means repatching, resplicing, or both.
Do not assume an "LGX" or "cassette" label proves compatibility with an existing chassis. Verify the actual drawing, retention method, front-panel geometry, and cable-management path.
Connectorized vs Spliced Changes the Labor Model More Than the Package Name
Package format and termination method are separate decisions. A blockless unit may be supplied with connectors or bare pigtails. A cassette may expose adapters on the front, use external pigtails, or combine different interface methods. The field workflow depends on those interfaces.
| Field workflow | Connectorized splitter path | Fusion-spliced splitter path |
|---|---|---|
| Installation work | Inspect, clean, mate, route, label, and test | Prepare fiber, splice, protect splice, route, label, and test |
| Primary workmanship risk | Contamination, wrong connector/polish, poor patch routing, incorrect mapping | Splice quality, preparation, sleeve placement, tray routing, incorrect fiber mapping |
| Restoration | May allow replacement by disconnecting defined interfaces | Usually requires a controlled resplice if the splitter assembly is replaced |
| Optical events | Includes the mated connector pairs created by the architecture | Includes the fusion splices created by the architecture |
Use the complete installed optical path in the link budget. Do not claim one package has lower loss without comparing the exact connector and splice events created by the approved configuration.

Decide From the Maintenance Event, Not Only the Installation Event
The initial installation may happen once; subscriber activation, fault isolation, and restoration can happen many times. The best package depends partly on what technicians will need to touch later.
Ask the operations team to describe three real events:
- Add a subscriber or branch. Which splitter output must be identified and accessed? Does the technician open a tray, patch an adapter, or make a splice?
- Troubleshoot one abnormal output. Can that path be tested without disturbing unrelated outputs?
- Replace the splitter. Which connectors, splices, labels, and routing must be removed and rebuilt?
A cassette can be attractive when the network values clearly labeled front access and a defined replaceable module. A blockless implementation can be attractive when the splitter is intended to remain protected inside a compact distribution box and the project already has a controlled splice/routing workflow. Neither statement is a universal ranking; it describes different maintenance boundaries.
Keep Split Ratio Separate From Package Selection
Select the PON architecture and split ratio before choosing blockless or cassette packaging. A 1×16 or 1×32 requirement is an optical/topology decision; blockless versus cassette is a physical-integration decision.
For example, a 1×16 splitter used as a local distributed node should first pass the topology and loss-budget checks described in the 1×16 distributed FTTH guide. A centralized 1×32 design should first pass the optical-budget and 32-port management checks in the 1×32 PLC splitter guide. Only then should the project select the package that fits the enclosure and operating model.
This order prevents a common mistake: choosing a cassette because it looks organized, or choosing blockless because it looks compact, before confirming that the underlying splitter ratio and architecture are valid.
Testing: Separate Splitter Performance From Installed-Path Performance
The Fiber Optic Association's splitter testing reference describes measuring splitter loss by applying a source to the input and measuring outputs individually. That supports two distinct acceptance layers.
Incoming splitter acceptance
- verify split configuration and part identity;
- verify package, lead construction, connector/pigtail configuration, and labels;
- inspect connector end faces when connectors are supplied;
- measure the required output channels using the project test method;
- compare results with the approved specification for the exact quoted construction;
- link the test record to the part/lot/revision as required by the project.
Installed-system acceptance
- verify the host mounting or retention system;
- confirm no lead is pinched, sharply bent, or loaded by enclosure movement;
- verify splice or connector mapping from splitter input through every required output;
- inspect and clean connectorized interfaces before final mating;
- test the complete optical paths required by the project;
- save the as-built port map and installed photographs.
A splitter can pass an incoming optical test and still be installed badly. Conversely, a routing problem in the enclosure should not automatically be diagnosed as a defective PLC circuit.
Failure Patterns That Help Identify the Wrong Package Decision
| Observed problem | Likely integration issue | What to review |
|---|---|---|
| Compact module moves when the tray is opened | Retention was not defined or is not compatible with the module body | Holder, clip, tray position, module envelope, and service movement |
| Enclosure closes only when leads are compressed | Installed routing volume was underestimated | Body, service loops, splice sleeves, connector boots, neighboring fibers, and cover clearance |
| Cassette cannot be removed after adjacent ports are populated | Service envelope was not validated | Insertion/removal direction, connector clearance, patch-cord routing, neighboring modules |
| Replacement requires more field work than expected | Termination method was confused with package type | Connectorized versus spliced input/output boundaries and restoration procedure |
| Correct optical ratio but wrong field part | Purchase description relied on "blockless" or "cassette" without drawing control | Dimensions, mounting interface, lead length, connectors, labels, and revision |
| One output fails after maintenance | Contamination, disturbed splice/lead, or mapping error may be local to that branch | Output identity, end-face condition, splice/connector event, and test record |
Fit-Test the Production-Intent Assembly Before Volume Deployment
For custom boxes, dense terminals, or a new cassette/chassis combination, a fit test can prevent an otherwise correct splitter from failing during field deployment.
The sample should use the intended production construction, not a loose demonstration unit. Install:
- the actual splitter package;
- the planned input/output lead construction;
- the intended connectors, adapters, or splice sleeves;
- the approved holder, tray, slot, or chassis;
- neighboring components that affect access;
- the labels and port numbering scheme.
Run the real installation and service sequence. Open and close trays or covers, access several outputs, inspect the connector or splice work area, simulate the defined replacement method, and document any interference. If the sample requires improvised tape, forced bends, unlabeled rerouting, or removal of unrelated fibers to make it fit, the design is not ready for production.

What to Put in the RFQ
When comparing a blockless PLC splitter supplier or cassette PLC splitter supplier, normalize the quotations around the same installed configuration. Supplier terms are useful only after the physical and optical boundaries are defined.
- split configuration: 1×N or 2×N and the approved ratio;
- package definition: blockless, cassette, LGX-style, or other project term plus drawing;
- overall module dimensions and mounting/retention interface;
- input and output termination: connectorized or fusion-spliced;
- connector family and polish where applicable;
- fiber/lead construction and lead length;
- port numbering and label format;
- host enclosure, tray, panel, or chassis reference;
- required service/removal clearance;
- approved optical acceptance criteria for the exact construction;
- per-output or project-defined test-record requirement;
- end-face protection and packaging requirement;
- approved drawing and revision;
- change-notification requirement.
Price should be compared only after these fields are aligned. A compact blockless part, a pigtail cassette, and a front-adapter cassette can all carry the same split ratio but create different installation labor, companion parts, and maintenance work.
Incoming Inspection: Verify the Package You Approved
Receiving inspection should not stop at the split ratio on the label. Compare the delivered construction with the approved sample and drawing.
Verify:
- part identity and revision;
- package type and dimensions;
- mounting features;
- input/output lead count and length;
- connector family and polish if supplied;
- port numbering and labels;
- protective caps and packaging condition;
- required optical records;
- lot or other traceability required by the project.
Segregate material that cannot be matched to the approved construction. A similar-looking module should not be substituted solely because the split ratio is the same.
Final Selection Rule
Choose blockless when the host enclosure is designed to provide reliable fixation, lead protection, routing, labeling, and service access around a compact splitter module. Choose cassette when the project benefits from a defined module interface, structured port presentation, and a clearer replacement boundary. In both cases, approve the installed system rather than the package name: drawing, mounting, termination method, routing volume, optical test, port map, and maintenance sequence must all agree before the format is released for production.
FAQ
Q: Is a blockless PLC splitter always smaller than a cassette?
A: The splitter body is usually more compact, but the useful comparison is installed volume. A blockless design still needs lead routing, service loops, splice sleeves or connector clearance, fixation, and technician access inside the host enclosure.
Q: Does a cassette PLC splitter always use front adapters?
A: No. Supplier terminology varies. Some cassette products expose front adapters, while others are protected modules with external pigtails. Define the mechanical drawing and interface rather than relying on the word "cassette."
Q: Which format has lower insertion loss?
A: Do not rank package names by loss. Compare the exact approved splitter specification and count the connector pairs, splices, and other optical events created by the installed architecture.
Q: Is blockless better for fiber distribution boxes?
A: It can be a good fit when the box provides suitable retention, routing, splice/connector management, and service access. A cassette can be better when the host system is designed around modular insertion and front-access ports. Validate the real box, not the generic application label.
Q: Is cassette better for maintenance?
A: It can simplify identification and module replacement when the cassette is connectorized and the host chassis supports accessible removal. If the cassette still uses pigtails that must be spliced, the restoration workflow may remain splice-intensive.
Q: Should package type be selected before the split ratio?
A: No. Approve the PON topology, split ratio, and optical budget first. Then choose the package format that fits the physical installation and maintenance model.